

Server management is prioritized on the checklist of almost all web server administrators. The Cockpit has made server management easier to execute because of the flexibility it brings to the table.
This Linux-supported software application lets you monitor and manage the status of your Linux-based servers remotely and on a web-based interface. Through Cockpit web server software, a web admin can comfortably start or stop server-based running services, check on the server load, and system performance.
Once you successfully install Cockpit and gain access to its web dashboard interface, you will be able to monitor and assess key information related to your server’s health and other critical system statistics like running processes, network consumption, disk utilization, disk space, CPU & Memory usage, and active users.
This article is going to take us through the installation and basic usage of Cockpit on AlmaLinux. Make sure you have root user access or Sudoer user privileges on the AlmaLinux you are using.
Installing Cockpit Server Management in AlmaLinux
It is important for your AlmaLinux to be up-to-date for it not to encounter any performance issues.
$ sudo dnf update
We also need the EPEL repository enabled. Since AlmaLinux is an RHEL-based Linux distribution, the EPEL repository makes it possible to install RHEL-supported extra software packages.
$ sudo dnf install epel-release
Once the EPEL repository is installed and enabled, retrieving Cockpit from AlmaLinux’s extra repo should be straightforward. If you upgraded to the latest AlmaLinux OS version, Cockpit should already be installed on your system.
$ sudo dnf install cockpit
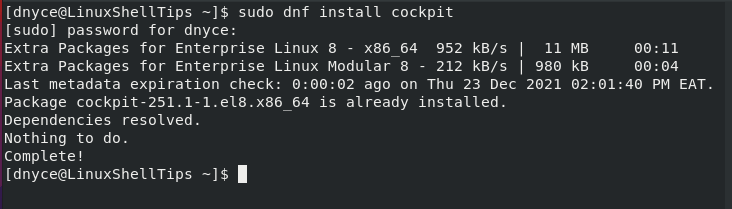
If your system did not have Cockpit pre-installed, the installation of this package together with its associated dependencies should take a minute or two to successfully complete.
To start the Cockpit service, use the following command:
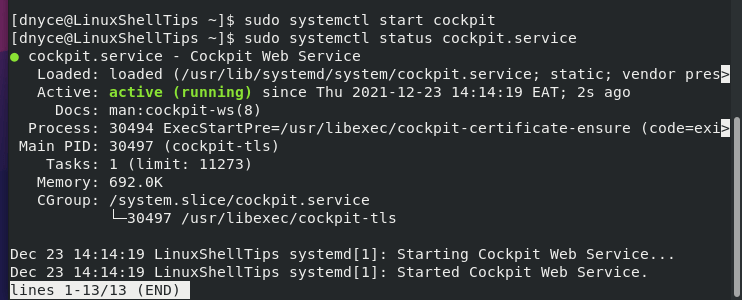
$ sudo systemctl start cockpit
To enable Cockpit, so that it keeps executing even after a successful system reboot, execute the following command.
$ sudo systemctl enable --now cockpit.socket
Afterward, check on its status to be sure it is up and running.
$ sudo systemctl status cockpit.service
Basic Usage of Cockpit Server Management Tool
Now that we are certain Cockpit is running on our AlmaLinux system, it’s time to put it to the test. The default HTTP port for Cockpit is 9090, which you need to open in Firewall.
$ sudo firewall-cmd --permanent --zone=public --add-service=cockpit
$ sudo firewall-cmd --reload
Next, determine the IP address of the server using the ifconfig command.
$ ifconfig
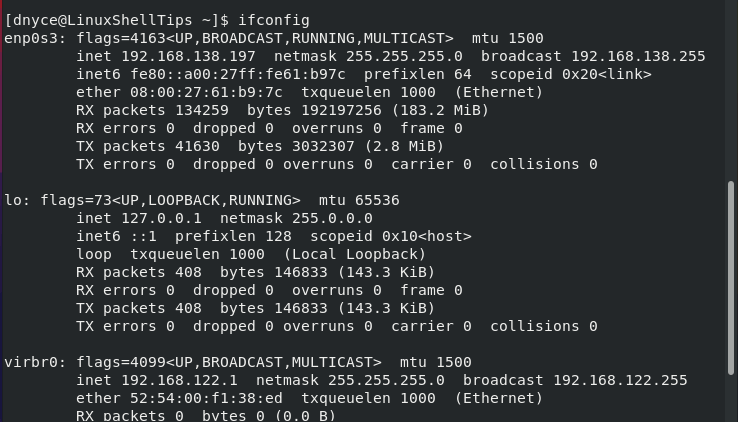
Based on the above screen capture, I will access my server via Cockpit in the following manner:
http://192.168.138.197:9090
Be the first to comment